
What Photos Do You Need for a Small Business Website?
TLDR
- Every small business website needs photos of people, what you sell, how it works, where it happens, and proof that it works.
- You can DIY many detail and behind-the-scenes shots with your phone and good light.
- Your homepage hero, main portraits, and key service / product images are usually worth hiring a brand photographer for, especially if you want your site to feel polished and trustworthy.
You are getting ready to redo your website, and you already know you need “better photos”. But what does that actually mean? How many photos? Of what? And which ones really need a pro, versus what you can handle with a phone on a bright Saturday morning?
You do not need a huge studio library to have a strong, clear site. You just need the right photos, taken with a little intention. Let’s break that down, page by page, so you can plan exactly what to shoot, what to hire out, and what to skip.
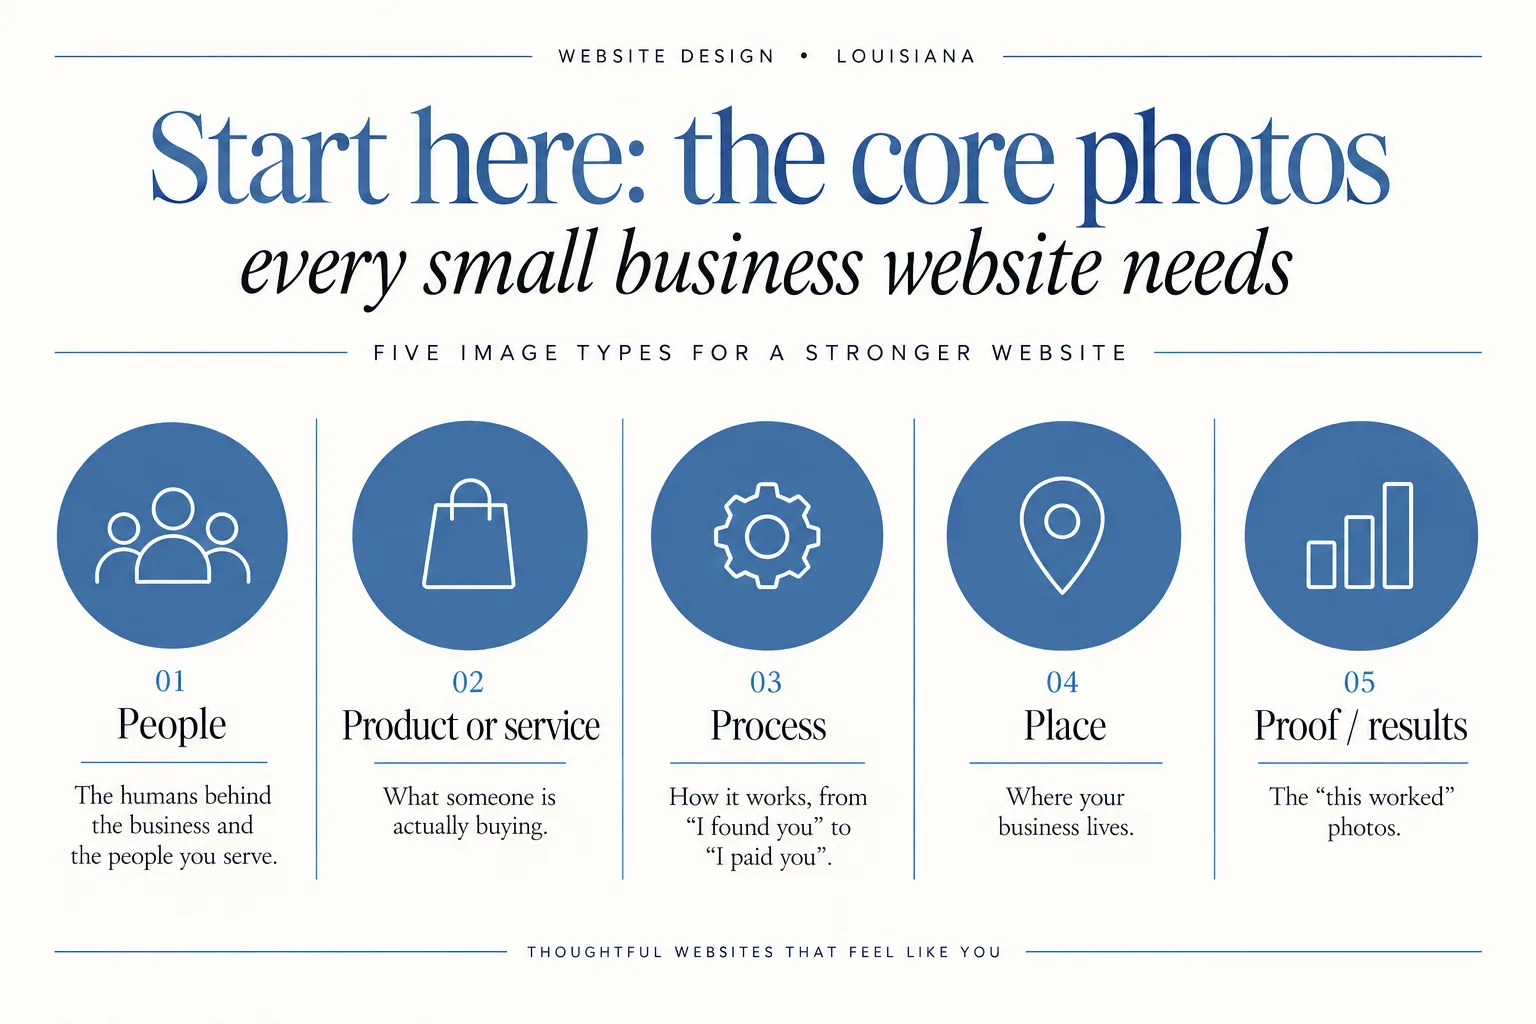
Start here: the core photos every small business website needs
Almost every small business website is built from the same five image types:
- People
The humans behind the business and the people you serve. Examples: headshots, team photos, clients interacting with you.
- Product or service
What someone is actually buying. Examples: finished products, your signature service in action, screenshots if you work digitally.
- Process
How it works, from “I found you” to “I paid you”. Examples: step-by-step shots, tools, your hands working, your intake forms, your workspace.
- Place
Where your business lives. Examples: your storefront, studio, home office, farm, or even your local coffee shop if that is your unofficial HQ.
- Proof / results
The “this worked” photos. Examples: before and afters, transformation shots, happy customers, finished spaces or projects.
Most pages on your site will pull one or more of these categories. Once you start thinking this way, planning photos stops feeling vague and starts feeling like a checklist.
Homepage photos: the images that carry first impressions
Your homepage usually gets the most traffic. The photos here carry the weight of first impressions, especially for new visitors who have never heard of you.
Shopify calls out hero images as one of the key image types on modern websites, because that “above the fold” photo is often the first thing people see when they land on a site. Your hero image matters a lot.
1. The hero image (or hero section)
This is the large image at the top of your homepage.
What it needs to do in one glance:
- Show who you are.
- Hint at what you do.
- Convey the feeling of your brand (calm, playful, luxe, earthy, etc.).
For a heart-led Louisiana business, that might look like:
- You, warmly smiling, in your real workspace.
- You with a client, mid-conversation or mid-service.
- A strong product or service shot that clearly shows what you do, with a human touch nearby.
This image is usually worth hiring a professional brand photographer. It is going to show up everywhere and it sets the bar for your whole site.
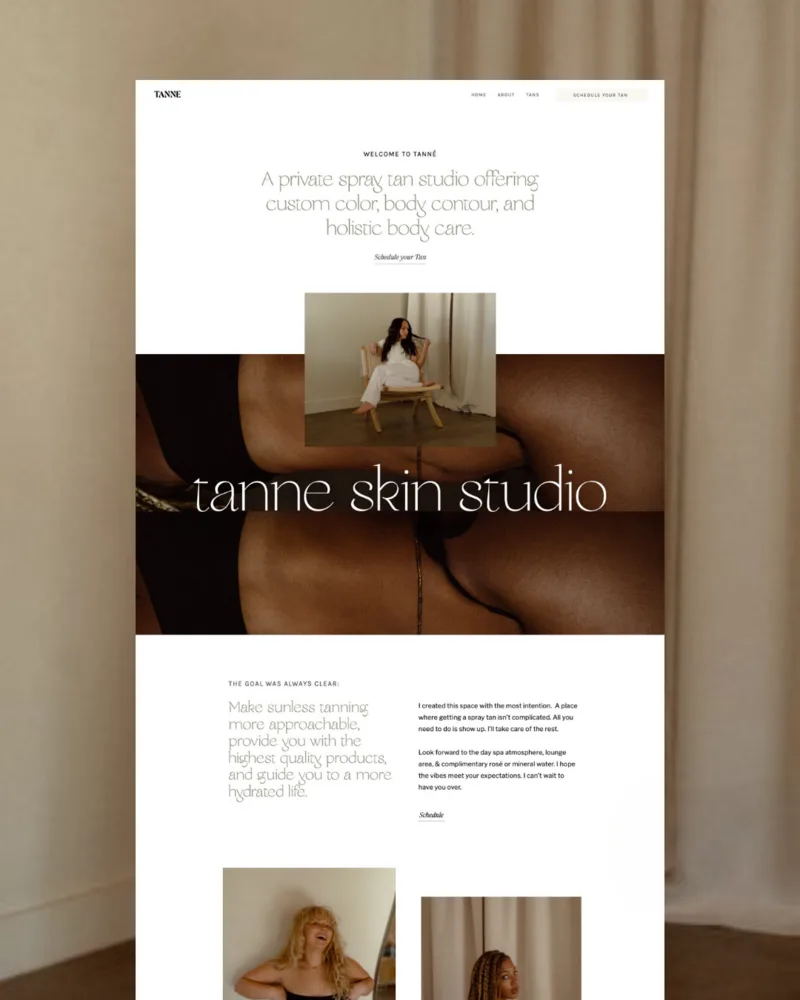
2. Supporting homepage images
Below the hero, your homepage will typically need:
- A smaller portrait of you
For the “Hi, I’m ___” section. This can be the same session as your hero, just a slightly different angle or crop. A pro helps you look relaxed and like yourself.
- Service or product highlight photos
One image per main offer, so people can quickly see the difference between them. Example: one photo each for “Wedding florals”, “Everyday bouquets”, “Workshops”.
- Process or behind-the-scenes shots
One to three photos that visually support any “how it works” or “our process” section.
- Place photo
A wide shot that hints at Louisiana, your city, or your space. This does not have to be a perfect real estate-style shot. It could be your front door, a corner of your studio, your desk, or a recognizable piece of your town.
DIY vs. pro for the homepage
Worth hiring a pro for:
- The main hero image.
- Any primary portraits that are front and center.
- A few key service / product spotlight images.
Often fine to DIY:
- Background textures or detail shots (coffee on a desk, tools laid out).
- Simple photos of your space in good light.
- Small accent images that show up lower on the page.
About page photos: putting a face and story to your business
When someone clicks your About page, they are looking for a person, not a pitch. This page is where your photos do the most “I’m real, you can trust me” work.
1. A welcoming main portrait
You will want one clear, well lit portrait near the top. Not a distant shot, not you hidden behind a laptop, but your actual face.
This is another place where professional brand photography pays off, because it is hard to relax in front of a camera you are also trying to control.
2. Secondary portraits and personality shots
These support your story as you talk about your background and values. Examples:
- You working with a client.
- You doing the craft itself (hands arranging flowers, frosting a cake, typing at your laptop).
- A more casual shot, maybe leaning against a doorway or laughing.
These can come from the same photo session as your hero image. One session can give you enough for your About page, homepage, and a few social graphics.
3. Place + process details
Sprinkle in 2 to 4 smaller images to round out the page:
- A detail of your desk, sketchbook, tools, or materials.
- A corner of your studio or office.
- Something that hints at Louisiana or your local community, if that is part of your story.
DIY vs. pro for the About page
Worth a pro:
- Main headshot / portrait.
- Any photos where you are the focal point and they will be used large.
Can be DIY:
- Detail shots of tools, notebooks, coffee, etc.
- Simple workspace photos.
- A few candid-style shots taken by a friend with your phone in bright, indirect light.
Service or product pages: showing what you actually sell
This is where your photos carry the sales conversation. People are deciding “Is this for me?” and “Do I trust this?” while they scroll.
Shopify talks about product images and banner images as separate types that support online selling and navigation. That same idea works for service pages too: you need both “what it is” images and “how it feels / where I am” images.
1. Clear product or service images
For each main offer, aim for:
- 1 strong “hero” image of that specific product or service.
- 2 to 4 supporting angles or context shots.
Examples:
- Service-based:
- Hero: you working with a client, mid-service.
- Supporting: tools or materials, a close-up of the result, your client smiling or relaxed afterward.
- Product-based:
- Hero: the product styled simply, front and center.
- Supporting: side / back views, the product being used, small detail close-ups.
This set does not have to be huge. It just needs to answer what someone would ask if they were holding the product or sitting in front of you.
2. Process photos
If your service has steps, let photos walk people through.
Think of 3 to 5 images that match your steps:
- First contact (you on a laptop or phone).
- Planning (notes, calendar, sketches, or mood boards).
- Doing the work (you in action).
- Delivering the result (finished product, final arrangement, cleaned space, styled room).
- Happy client or finished scene.
These do not have to be huge full-width images. They can live in a slider, a collage, or next to each written step.
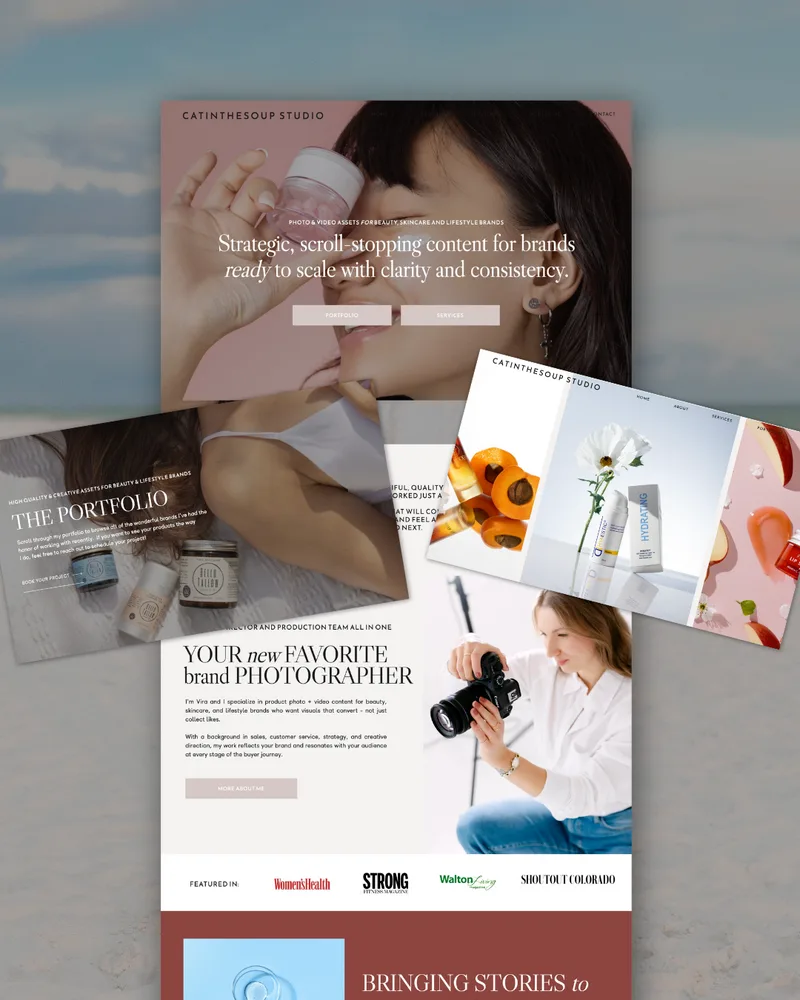
3. Proof / results photos
People want to see that your work does what you say it does.
Depending on your business, that might be:
- Before and afters.
- Completed projects.
- A gallery of your best work.
Even one or two well chosen “proof” images can do more than a paragraph of explanation.
DIY vs. pro for product / service pages
Worth hiring a pro for:
- The main hero image for each flagship product or service.
- Before and afters where lighting and angles need to be consistent to really show a transformation.
- Any photos that will be used large and repeatedly across the site.
Often fine to DIY:
- Simple product shots on a neutral background in bright, indirect light.
- Process photos focused on your hands and tools rather than your face.
- Extra angles or details to fill out a gallery.
If you are early in your business and still building out your offers, you might not need a huge site yet. A smaller site option, like a focused one-page layout, can work very well paired with a tight but intentional image set. If that is where you are, my Mini Site option for early-stage businesses is built specifically with that “I’m growing, but not there yet” season in mind.
Blog and content photos: building a reusable image library
If you plan to publish blog posts, guides, or resources, you do not have to shoot brand new photos every time.
What you want instead is a small, reusable image library that you can pull from again and again.
Shopify notes blogs and background images as common image use cases, and they do not change as often as product shots. The same is true for your own content.
1. Reusable people photos
A handful of photos of you in different contexts can support a lot of content:
- You working at a desk.
- You meeting with someone.
- You doing your craft from a few angles.
These can be cropped, turned into graphics, zoomed in, and reused without feeling repetitive.
2. Detail and flat-lay shots
These are small, focused images used inside posts:
- Tools of your trade laid out on a table.
- A notebook and pen.
- Your hands mid-task.
- Simple close-ups of products or materials.
You can DIY most of these with a phone, a neutral surface (table, desk, piece of white poster board), and soft natural light.
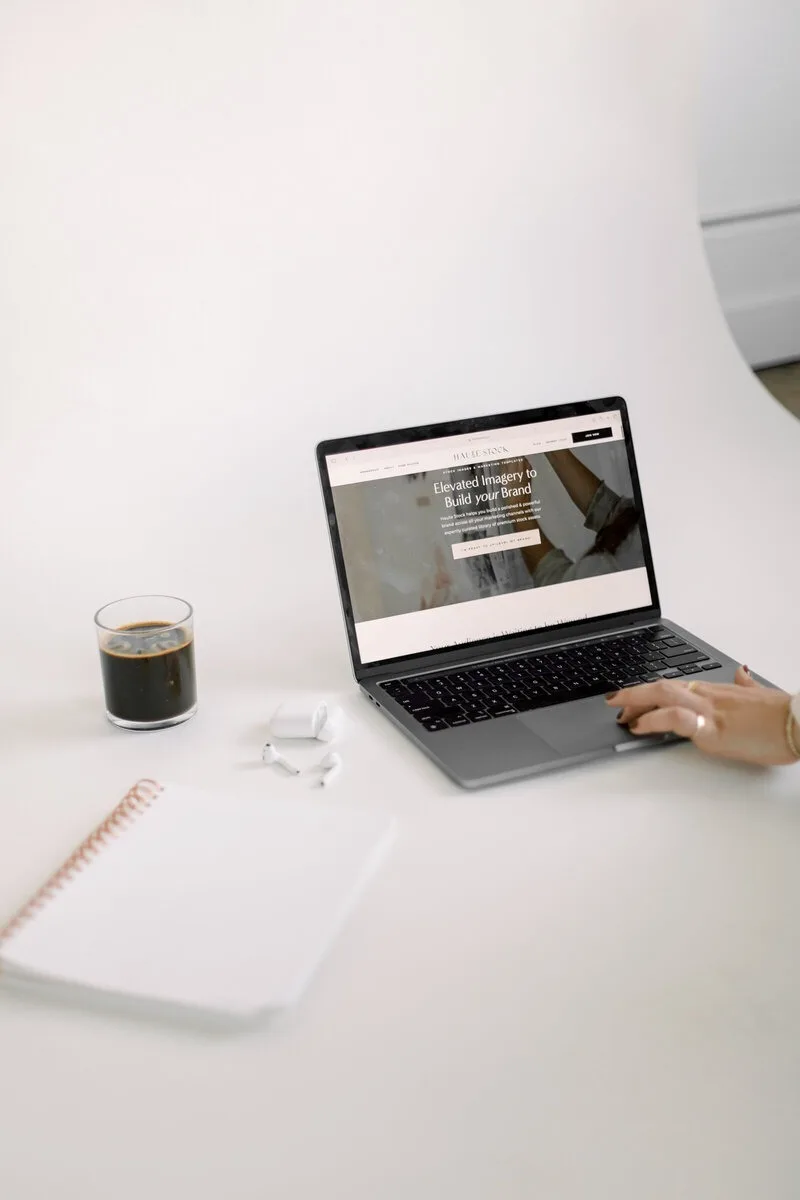
3. Behind-the-scenes and environment
A few wider shots that show:
- Your studio, shop, or home workspace.
- A local scene that feels true to where you live and work.
- You setting up for an event, packing orders, or prepping materials.
You can use these as blog headers, in email graphics, or as subtle background images behind text.
DIY vs. pro for content photos
Worth a pro:
- A core set of reusable “you at work” images and a few polished detail shots that can become the visual backbone of your blog and social content.
DIY is usually perfect for:
- Extra behind-the-scenes images.
- Quick photos documenting a process you are writing about.
- Seasonal or time-sensitive content that will not live on your homepage or key pages.
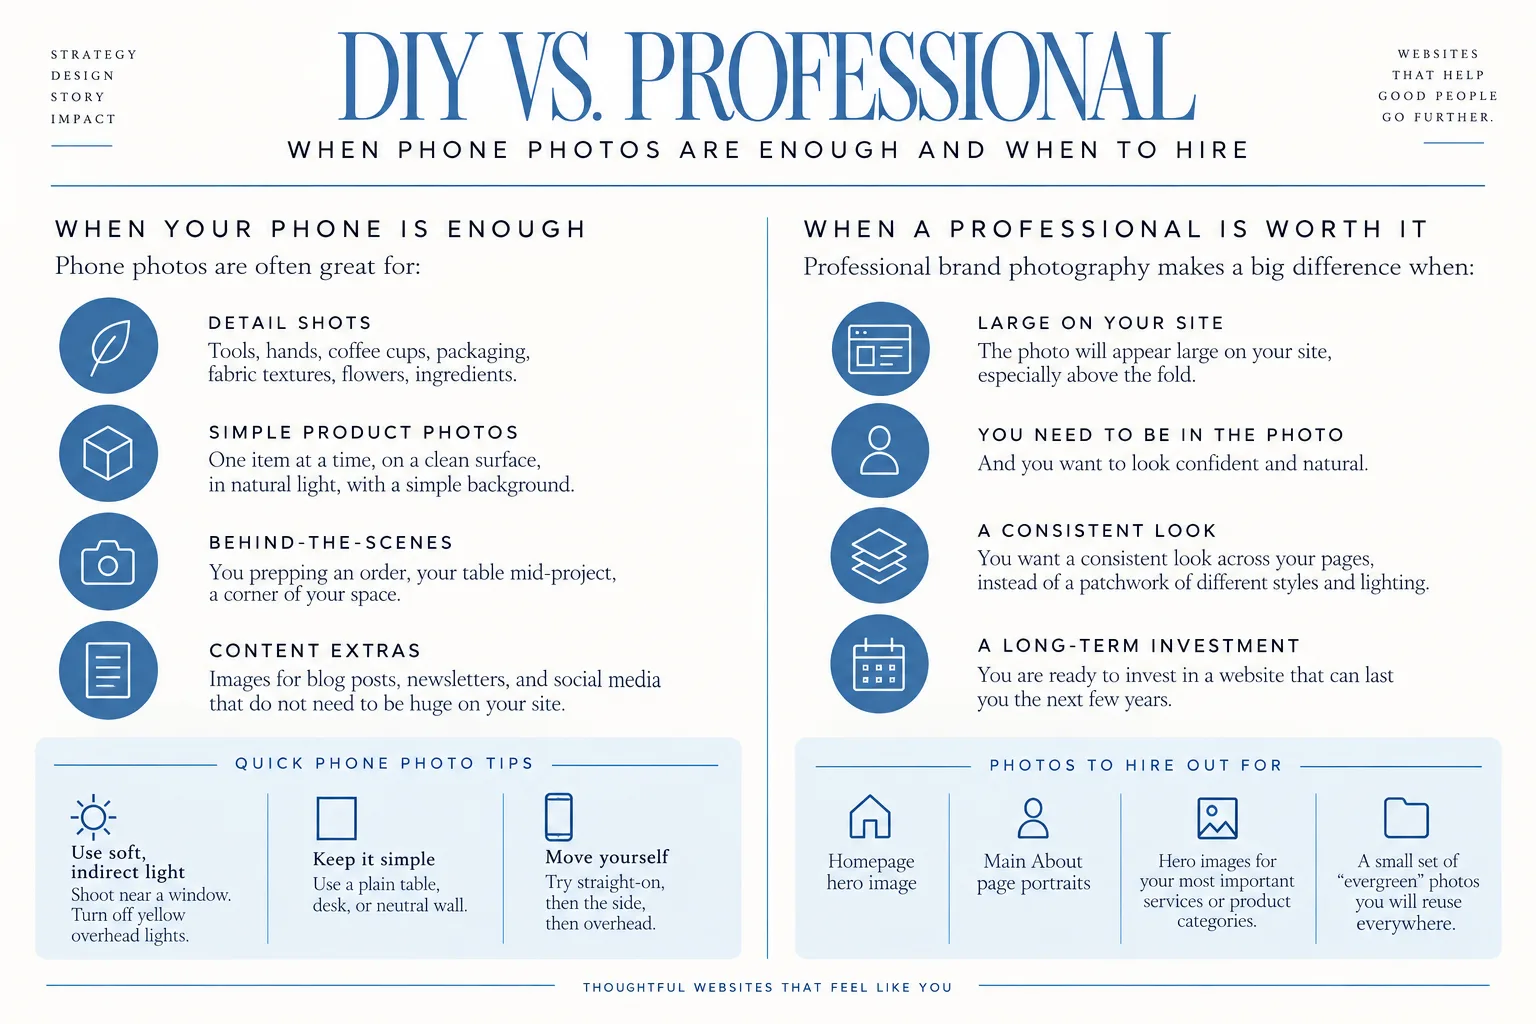
DIY vs. professional: when phone photos are enough and when to hire
Let’s sort this clearly, because this is usually the big question.
When your phone is enough
Phone photos are often great for:
- Detail shots
Tools, hands, coffee cups, packaging, fabric textures, flowers, ingredients.
- Simple product photos
One item at a time, on a clean surface, in natural light, with a simple background.
- Behind-the-scenes
You prepping an order, your table mid-project, a corner of your space.
- Content extras
Images for blog posts, newsletters, and social media that do not need to be huge on your site.
A few practical tips:
- Shoot near a window with soft, indirect light. Turn off yellow overhead lights if you can.
- Use a simple background: a plain table, desk, or neutral wall.
- Move yourself, not just your phone. Try a straight-on angle, then step to the side, then try overhead.
When a professional brand photographer is worth it
Professional brand photography makes a big difference when:
- The photo will appear large on your site, especially above the fold.
- You need to be in the photo and you want to look confident and natural.
- You want a consistent look across your pages, instead of a patchwork of different styles and lighting.
- You are ready to invest in a website that can last you the next few years.
These are the photos I recommend hiring out for:
- Homepage hero image.
- Main About page portraits.
- Hero images for your most important services or product categories.
- A small set of “evergreen” content photos you will reuse everywhere.
If you are in Lafayette, Baton Rouge, New Orleans, or nearby and know you want that level of polish, I offer brand photo and video sessions for Louisiana small businesses that are planned specifically with your website pages in mind.
Website photo planning checklist: what to gather before your build starts
Here is where we turn everything into a straight-up checklist you can print or save.
Organize your photos by page and by category (people, product/service, process, place, proof). This makes it very easy to hand off to a designer or upload into your DIY builder.
Homepage
People
- [ ] 1 hero-worthy image of you or you with a client (ideally pro).
- [ ] 1 smaller portrait for a “meet the owner” section.
Product / service
- [ ] 1 main image per core service or product category.
Process
- [ ] 1 to 3 photos that hint at how you work (hands in action, tools out, a planning moment).
Place
- [ ] 1 wide or medium shot of your shop, studio, office, or a local scene that feels like “home base”.
Proof
- [ ] 1 to 3 images that show finished results or happy clients.
About page
People
- [ ] 1 main portrait near the top (ideally pro).
- [ ] 2 to 4 secondary portraits or lifestyle shots of you working or in your space.
Product / service
- [ ] 1 to 2 images that show your work in a way that aligns with your story.
Process
- [ ] 1 to 3 photos of you mid-process (writing, sketching, making, serving).
Place
- [ ] 1 to 2 cozy shots of your workspace or local surroundings.
Proof
- [ ] Optional: 1 image that shows a client or finished result that is personally meaningful to you.
Service or product pages
Do this list for each core service or product category.
People
- [ ] 1 image that includes you or a team member delivering the service.
- [ ] 1 image with a client in the frame if appropriate.
Product / service
- [ ] 1 main hero image of this specific service or product.
- [ ] 2 to 4 supporting angles or detail shots.
Process
- [ ] 2 to 5 photos that match the steps of how it works.
Place
- [ ] 1 photo of where this service/product happens (studio, kitchen, workshop, client site, etc).
Proof
- [ ] 2 to 6 images of finished work, results, or before and afters.
If you are planning a larger, multi-page site, it helps to share this checklist with whoever is building it for you. My Signature Web Design service for multi-page small business websites always includes this kind of photo planning, because content and images have to work together from day one.
Blog / content library
People
- [ ] 3 to 5 photos of you working, meeting, or thinking.
Product / service
- [ ] 3 to 5 flexible shots of your offers in context.
Process
- [ ] 5 to 10 detail or in-progress images you can reuse in how-to posts or case studies.
Place
- [ ] 3 to 5 images of your workspace and local environment.
Proof
- [ ] 3 to 10 “result” images, ideally your best portfolio pieces.
Store these in folders named like:
homepage > herohomepage > servicesabout > portraitsservices > [service name] > proofblog > details
Your future self will thank you.
FAQ: common questions about small business website photos
Do I really have to worry about legal use of images?
Yes. Every image on your site must be legal to use. That means:
- Photos you took yourself.
- Photos a photographer took for you, where you have usage rights spelled out.
- Properly licensed stock photos, with terms that allow website use.
Do not grab images from Google or social media, even if “everyone does it”. It is not worth the risk.
How can I make my DIY photos look more polished?
A few basic composition tips go a long way:
- Clean your background. Remove clutter and distractions. If it does not support the subject, move it.
- Use consistent lighting. Natural light from a window is your friend. Try to shoot at the same time of day, with similar light, for all photos in a set.
- Keep the focal point simple. Decide what the photo is about and frame it clearly. Avoid trying to show too many things at once.
- Mind your horizon lines. Keep counters, tables, and door frames straight instead of tilted. Most phones have gridlines you can turn on to help with this.
Small improvements here can make phone photos blend more easily with professional images on your site.
How should I name and tag my site photos for accessibility and search?
Two easy habits help a lot:
- Descriptive file names
Instead of IMG_1234.jpg, try lafayette-florist-wedding-bouquet.jpg. This helps keep you organized and gives search engines a little context.
- Helpful alt text
Alt text is the description read aloud by screen readers. It should briefly describe what is in the photo and how it relates to the page. Example: “Owner arranging fresh roses for a bridal bouquet in Lafayette studio.”
Keep it natural and human. You are writing for people first, not robots.
Large, unoptimized images can also slow your site down. If you want to check your site speed as you update photos, you can use Google’s free PageSpeed Insights tool for a quick read on how your pages are performing.
If you are staring at your camera roll feeling overwhelmed, you do not have to figure this out alone. Reach out to talk about your goals and we can map out the photos and pages that will actually move your business forward: Reach out to talk about your goals.